
Asphalt shingle roofs are some of the most common types of roofs in the United States, having stood the test of decades, torrential weather, and technological advancements. But the process of asphalt shingle roof installation is a strenuous and dangerous one—one that should definitely be left up to professional roofers. If you’re a homeowner wanting to learn about the roofing process, Genesis Roofing & Repair has created this blog specifically to show you how the roof installation process goes.
Asphalt Shingle Installation: From Roof Prep To Completion
A typical asphalt shingle roof installation takes about 1-3 days to complete; however, this can vary depending on the size and complexity of your roof and the weather conditions. From gathering the correct tools to hammering in the last shingle, follow us as we explain step by step how an asphalt shingle roof becomes a reality.
Here is how the process of roof installation goes.
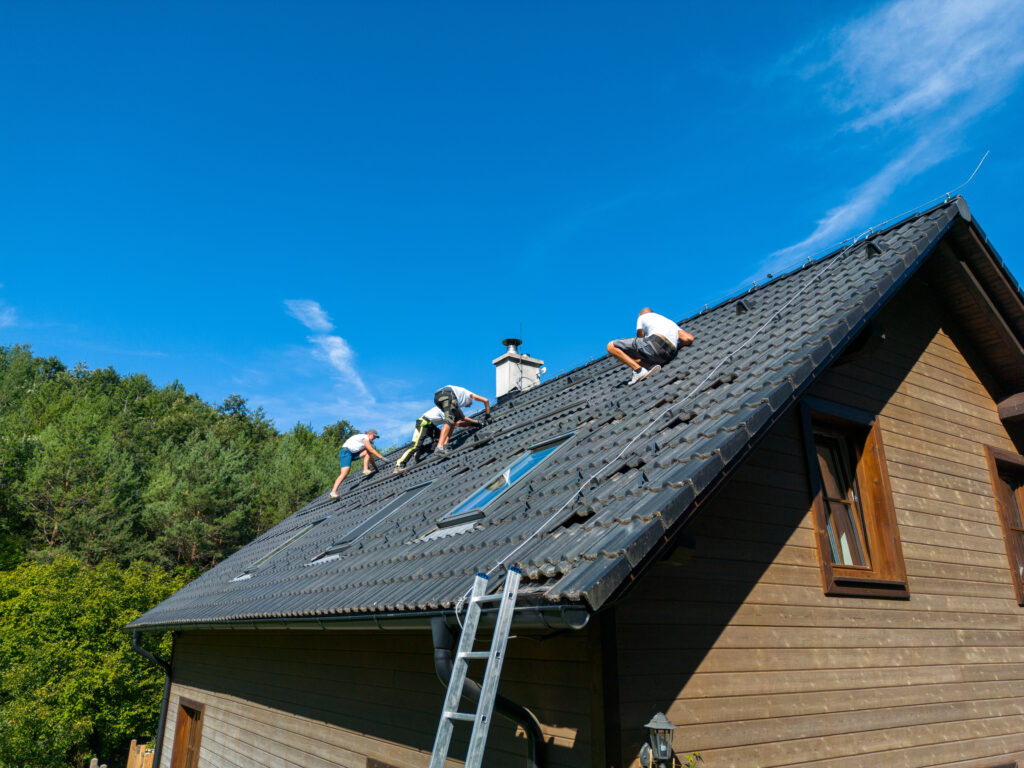
Step 1: Safety First
Before doing anything, you must guarantee safety. According to experts, about 1/3 of construction fatalities happen because roofers don’t prioritize safety. Make sure to have the following things before setting foot on the roof:
- A sturdy ladder
- Safety harness
- Safety glasses
- Non-slip shoes
- Work gloves
Step 2: Deck Inspection
Now that you’re on the roof, you’ll need to inspect the decking. Identify and replace any damaged or rotten deck pieces and ensure that the deck is firmly attached to the rafters to support the new shingles. Also, determine how many shingles are needed and then move on to the drip edge.
Step 3: Drip Edge Installation
Up next, align the drip edge with the edge of the roof and create a straight chalk line along the top of the strip. Moving the aluminum strip down, nail it into place using 1-1/4 inch galvanized nails, repeating the process along the gable edges, completing the entire roof.
Step 4: Roofing Felt Application
The final step before the installation can actually begin is to lay out the roofing felt, starting from the bottom of the roof. Each row overlaps by about two inches and is secured with the same roofing nails used for the drip edges. This creates a waterproof barrier against potential leaks during thunderstorms.
Step 5: Marking Out The Pattern
Mapping out a clear pattern for your shingles helps with neat rows and precise exposure. You should measure and mark about 1-2 inches from the edge of your roof to create the overhang.
Create marks 12 inches up and mark out the rest of the roof every five inches. To keep the lines horizontally straight, you should mark out every 6inches, creating a precise pattern for the shingle installation.
Step 6: The Starter Course
This is the first row of the shingles and is important for proper water drainage. Cut off the tabs of the shingles and nail them into place along the edge of your roof. Ensure that about 1/4inches of the shingles hangs over the drip edge.
Step 7: Installing The First Row
Now that the edges are done, it’s time to move on to the first row of shingles. You should lay down a row of full shingles along the chalk line you created, using four nails per shingle to hold them in place. Continuing this pattern, complete the entire first row, creating a solid base for the rest of the rows.
Step 8: The Rest Of The Rows
The rest of your shingle roof installation will go like this. For the second row, cut off 6inches from the first shingle and place it snugly against the first one of the previous row. The rest of the shingles will be full until you reach the third row. Now, cut off 12inches of the first shingle and then continue with full shingles. The fourth row will have full shingles throughout. Repeat this pattern throughout the roofing process, creating a staggering effect that improves water drainage.
Step 9: The Roof Valleys
There are two types of roof valleys, and both are vulnerable to water damage.
Closed Valley: extend the shingles from one side and cut and tuck the shingles on the opposite end underneath them.
Open valley: install flashing and tuck the shingles along its edges, providing more protection against leaks.
Step 10: Finishing Touches & Final Inspections
Cutting individual tabs from full shingles, nail them into place along the ridge of the roof, overlapping them by 5inches. Also, use roofing cement to cover any exposed nails and perform a final check of your work to ensure everything is done right.
Conclusion
An asphalt shingle roof installation is a detailed and dangerous process that should only be undertaken by experienced roofers. The process goes from safety gear to mapping out shingle patterns to carrying out final inspections and is typically completed within three days.
FAQs
What are the three types of asphalt shingles?
Strip shingles, dimensional shingles, and luxury shingles are the three main types of residential asphalt shingles.
What is the cost of an asphalt shingle roof installation?
For a 2000sqft home, the cost of installation is between $7000 and $3200.
Why should I hire professional roofers for my shingle roof installation?
Only licensed roofers have the tools, safety gear, and skills needed to accurately install an asphalt shingle roof.